Installation Guide
Recommended Tools: Drum key, scissors (for trimming), lithium grease (for tension rods).

Advanced Bass Muffling System
| 1) Pre-fit the foam in the drum before removing the adhesive cover strip. | 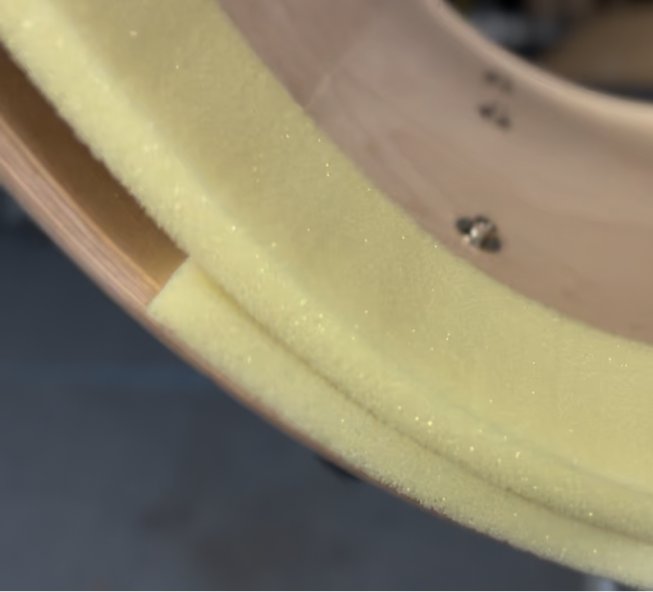 |
| 2) Trim the foam to fit, leave approximately 3/4" to 1” of excess foam on the strip to create a tight connection point where the two ends meet. | 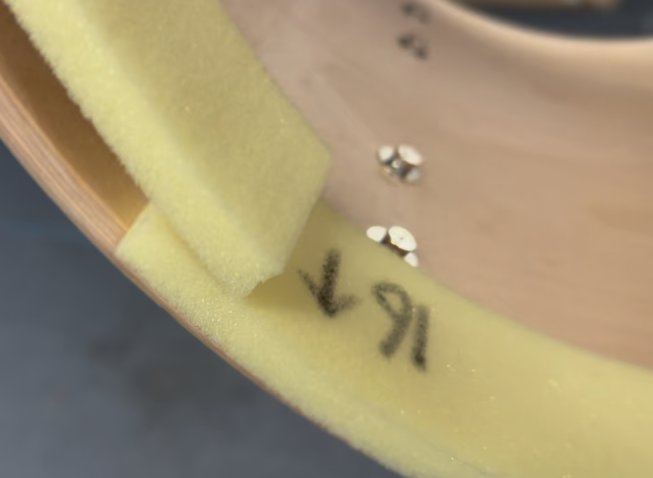 |
| 3) Make sure the arrow marked on the foam is pointing in the direction of the drum head (not to the inside of the drum). | 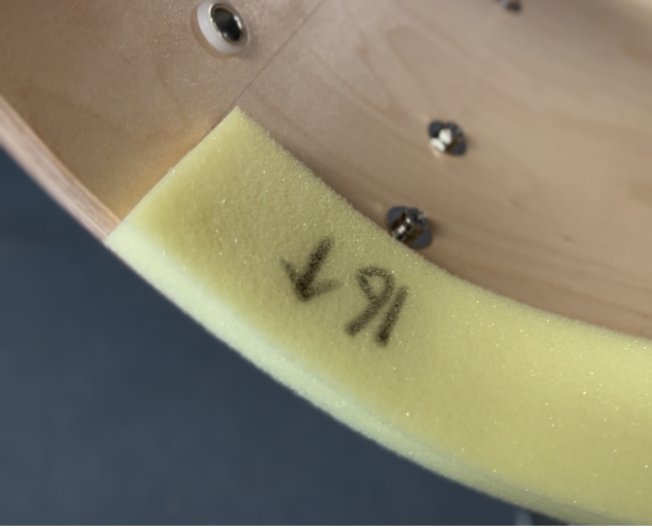 |
4) Remove adhesive covering as you install the foam, not all at once, the adhesive can easily stick to anything it comes in contact with. | |
5) Line up the foam (the side that makes contact with the drum) with the apex of the bearing edge (where the edge makes contact with the head) or up to 1/8” beyond the edge. Note: going beyond 1/8” of the bearing edge can reduce adhesion to the shell and deform the foam as it makes contact with the head (there is a slight angle on the foam so you do not need to go any further than 1/8”). | 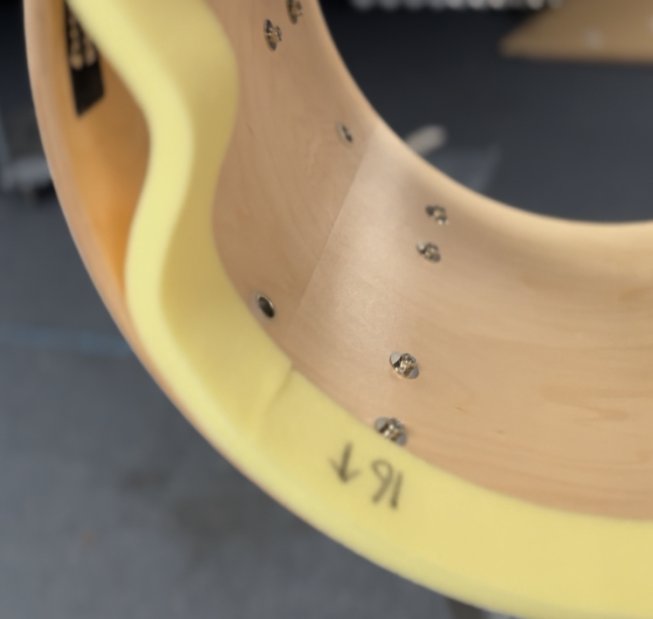 |
| 6) Once the strip is installed, check the bearing edge distance to make sure the foam is set as evenly as possible around the drum. Press down firmly on the foam to make sure the adhesive attaches fully to the inside of shell. | |
| 7) Repeat all steps on the other side of the drum. | 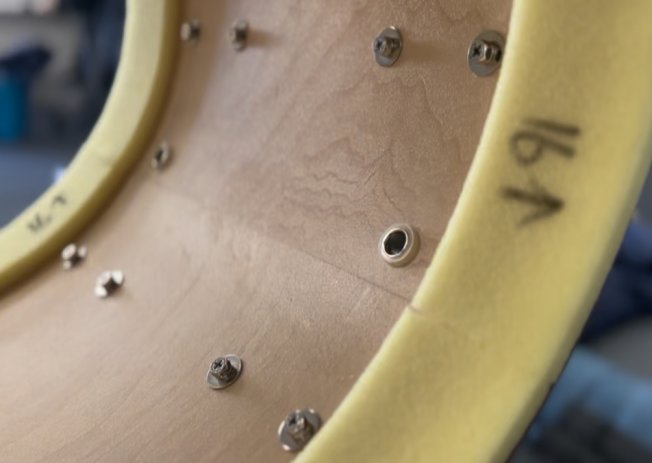 |
| 8) Install your bass drum heads, but do not tighten the tension rods yet. Our Suggestion: use single ply, non-pre-muffled, heads for best combination of tone and articulation. For even more articulation, use either a two-ply head or a pre-muffled head and leave the foam in the head). | |
| 9) Adjust the heads (rotate the head with the tension rods loose) with the drum “on” the player (using their drum carrier not a stand). Pro Tip: have the player march forward and backward and rotate (to see evenness of both sides) to make sure logos and/or graphics are optimally placed for movement (some players do not stand and carrier the drum the same way that they do when they move). | |
10) Tighten the tension rods, tune the drum as desired, and get back to making music with a great sounding drum. |